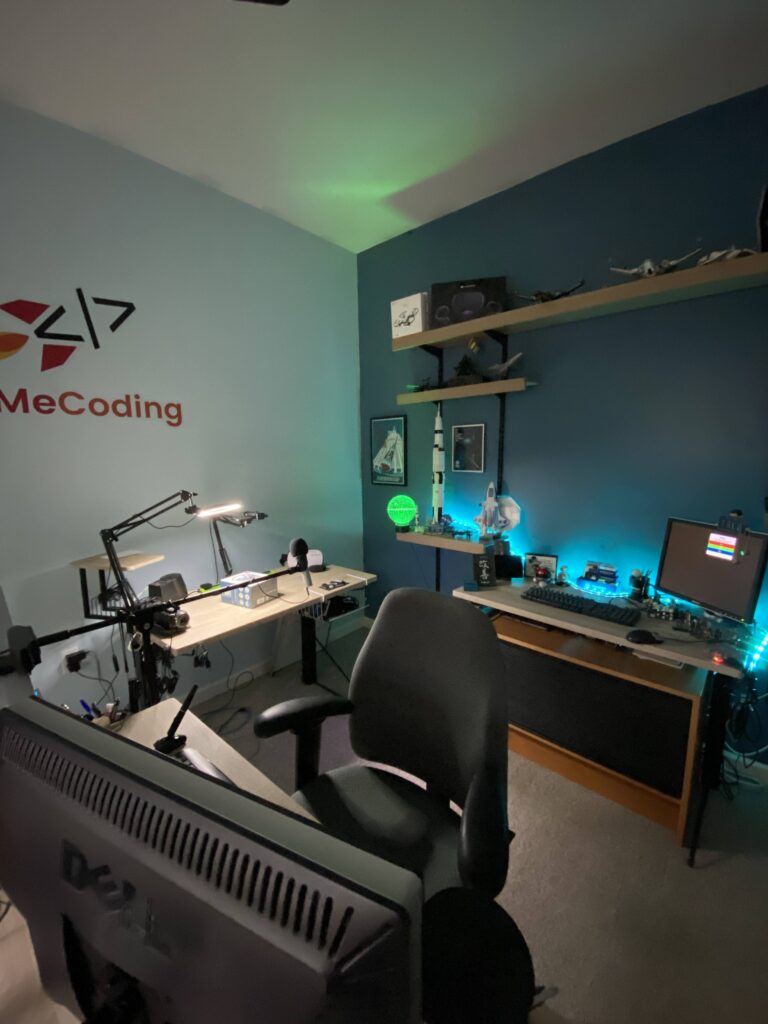
Home office and teacher space makeover projects have been sweeping all across the United States and the globe during COVID-19. As I moved to teaching completely online, remotely and creating for GetMeCoding.com, I had one goal in mind for my teacher space makeover and that was to make an engaging setup that was also highly functional.
Makeover Quick Access Table of Contents
My Initial Office Setup
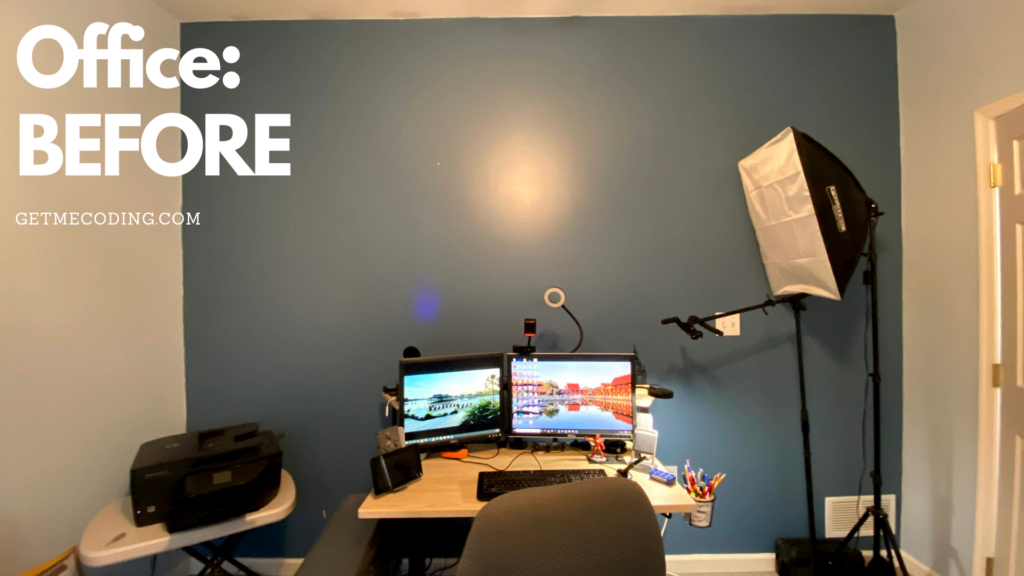
When I first setup my office in my home for teaching I thought it was going to be a place where I would also meet with others and ultimately be a museum piece where I would place unread books and vintage items I would never use.
A few years later I realized no one ever met me in my office and it was also in disarray because I displayed items that took up needed space. It was time for a makeover. It was setup in a way that didn’t support the way I worked. That needed to change now that I needed to actually use my office!
Guiding Tips for a Makeover
- Don’t overthink. Odds are your first setup won’t be what you need.
- Build an office that works. Avoid an office 'museum' setup.
- De-clutter. Take everything out of your office and put away in boxes in another room. Over time you learn what you actually use.
- Always use natural lighting whenever possible.
I no longer call it my office. It is my studio. Studio is defined by Meriam Webster as
1a: the working place of a painter, sculptor, or photographer
b: a place for the study of an art (such as dancing, singing, or acting)
2a: a place where motion pictures are made
b: a company that produces motion pictures
3: a place maintained and equipped for the transmission of radio or television programs
4: a place where audio recordings are made
And that really is what I do now. I make my student videos.
Create a Goal for Your Office Makeover
The goal for me was to create a space where:
- I can comfortably work
- Tinker with devices
- Record video with no movement of furniture
Item Breakdown
The following areas are the major areas that received the most attention. Over time, I did modify items and I note them in the sections.
DISCLAIMER: I am NOT an interior decorator. I relied on advice from those that have a better eye than I and looked over a number of online and print resources for ideas. I then applied some thoughts of my own and came up with something that works for me and I hope these ideas help you as I could not find a resource like this.
(Also in full disclosure I provide links to various items using my Amazon affiliate link. I use this for generating a very small amount of revenue to help keep my office lights on!)
Office Wall and Floors
My office was originally a dark shade of blue which made the room feel rich but also small and dark. I decided to lighten it up with Behr Paint from Home Depot. I kept an eye open for sales throughout the year and purchased it when the price was right. If you have other brands you like, then use those. I am not a paint expert but have done many painting projects. Just remember, preparation is the key to a good paint project. If going light over dark, use a primer. If covering designs, use a primer. Tape edges and use tape that won’t seep.
I have wall to wall carpeting in my studio. My wife keeps insisting I should put in hardwood floor (it is not a museum!) Carpets keep sound from bouncing around so if you are podcasting or doing voice-overs for your video, having soft material in the office will help absorb sounds.
Wall Decal and Poster or Picture Hanging
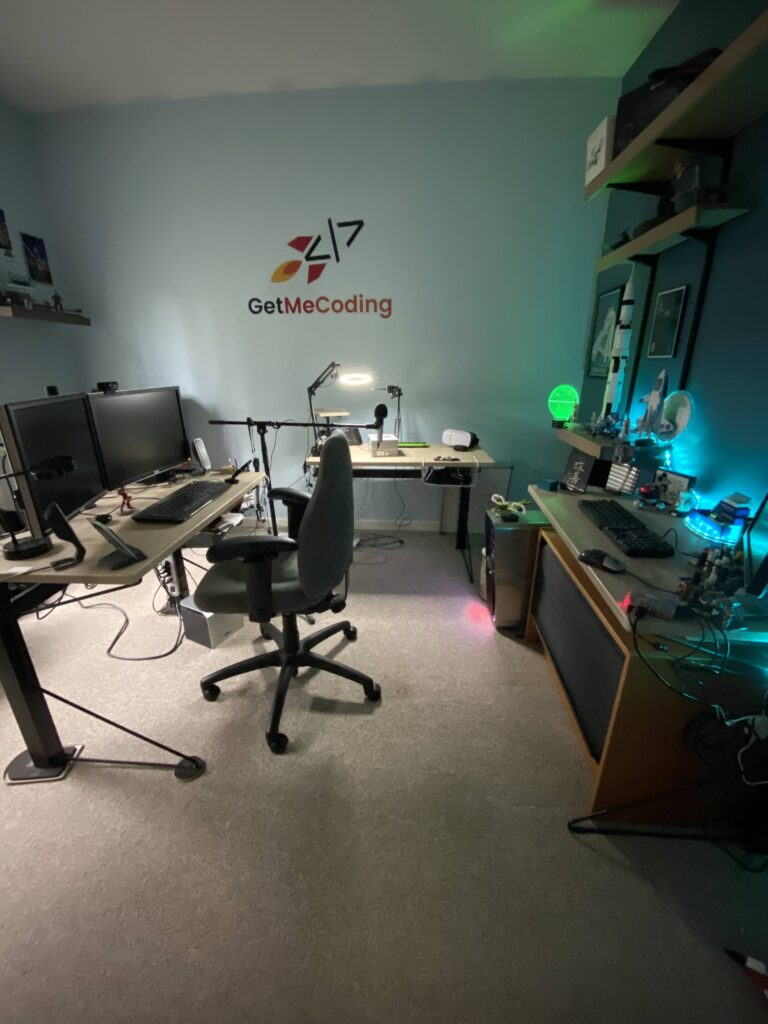
The GetMeCoding wall decal is a clear vinyl decal from Sticker You. It is a vinyl decal with a clear background. You will need a high resolution graphic if you intend on making a large wall decal.
I have some advice on posters or pictures in the lighting section but be mindful that anything you hang on your walls that you intend on capturing in your video may catch a glare from your lights.
Shelves
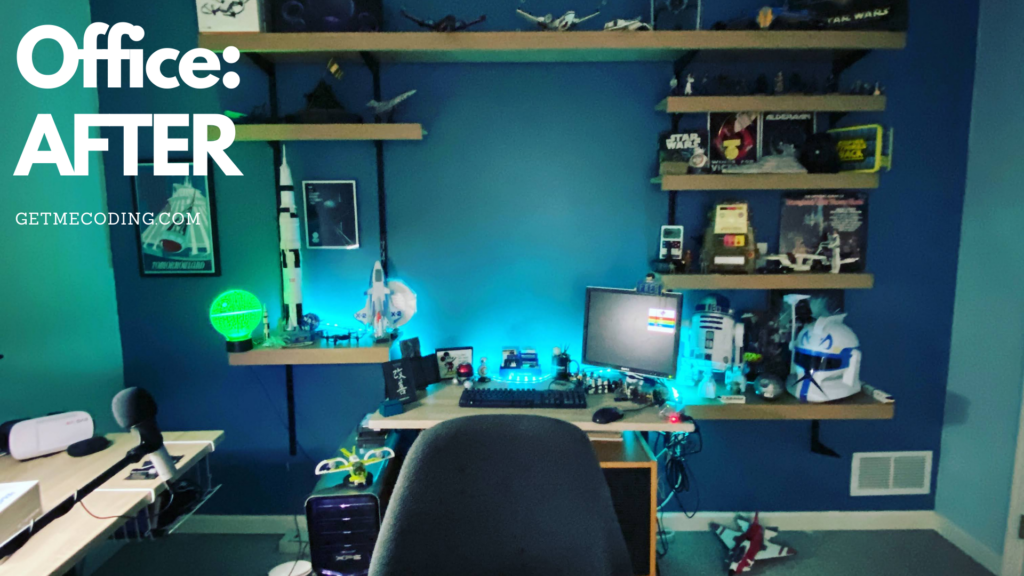
The shelfs you see here were made by me. I purchases some good pine (not expensive) lumber from Home Depot along with firring strips and built them and painted them in an afternoon. The firring strips are necessary for hiding the LED strips (see lighting below).
The adjustable wall brackets the fast mount types and I can always easily rearrange the lower shelves to suit my needs for my background. I am a huge collector of Star Wars and tech so I wanted to display items I have had boxed up for years that also captured who I am.
Lighting
If there is one area that truly challenged me and continues to throw me a curve ball from time to time is lighting. I cover the devices I use to light my space here from selfie ring lights to the LED’s I chose.
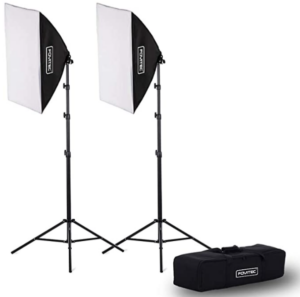
Since I do alot of video, I knew I needed lights. I purchased these Fovitec Lights which are lightweight and portable. You can keep them on the stands or place the box light on the floor for lighting up if needed. One thing to note is that the power cord is short so also have extension chords.
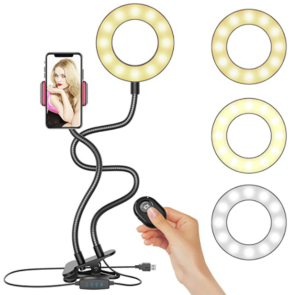
At my desk I use a Selfie Ring Light. There are multiple versions of this light. This is powered by USB so be sure you have an extra USB port available (see my later item). When shopping I recommend these key features:
- Strong clip for moving it
- Multiple light modes as your main room lighting changes you cna then adjust the light on your face
- Holder for your smartphone (be sure to check the size of your phone fits)
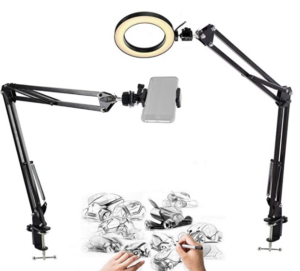
In order to do an overhead video shot, I need a way to hold my camera in multiple positions due to the item I record and also light it from different angles. I didn’t want something stationary due to shadows so I found Acetaken Overhead Light.
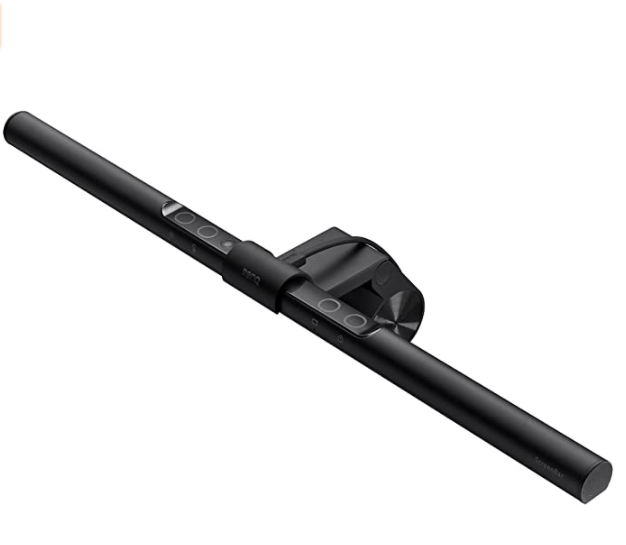
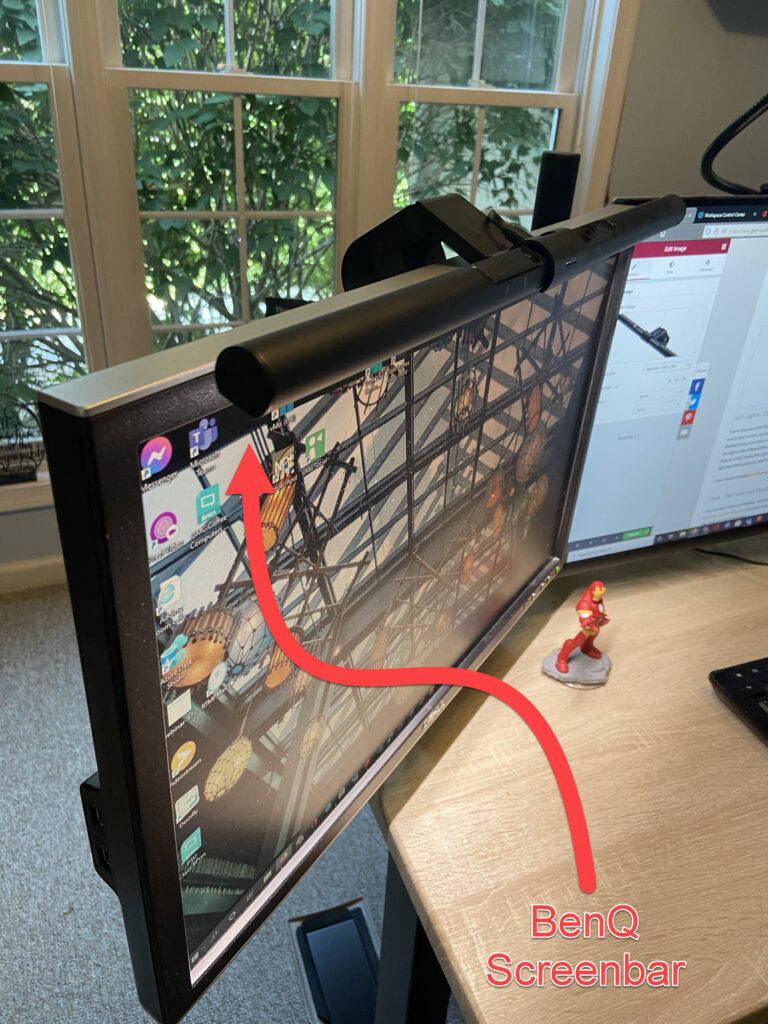
One of the best items I have is BenQ Screenbar. It easily and quickly mounts to top of your monitor freeing up deskspace. Here are some other excellent features. The one thing that impresses me most is how it dims by automatically sensing the light of its surroundings.
- Screen glare-free: the asymmetrical design ensures zero reflective glare off the screen.
- Auto-dimming: automatically illuminates to 500 lux, on the basis of The American National Standard Practice for Office Lighting.
- Space-saving: specially designed patented clip works with most monitors.
- 15 brightness X 8 colour temperature levels: a tailor-made lighting satisfies your needs and mood!
This is one area that has changed my space significantly. I wanted to have background lighting that would also accent my collection of Star Wars, tech, and vintage items that express who I am and what GetMeCoding is all about so I purchased Govee RGBIC LED. RBGIC is a light set that allows you to control the lights with different effects (eg. chasing lights, etc.). The IC stands for integrated circuit which means their is a chip inside that light strand. This is not found in standard LED lights. So if you want a crazy lighting effect going on, look for the IC type. Otherwise regular LED lights work.
I also recommended purchasing clips and extenders so you can easily mount them to your background.
You can learn from my mistake. Initially, I purchased two types of desks. One is the Jamesdar Carnegie Black/Natural Gaming Desk and the other is Jamesdar Carnegie Desk with Natural Wood Finish Top. I like the minimal look of the them.
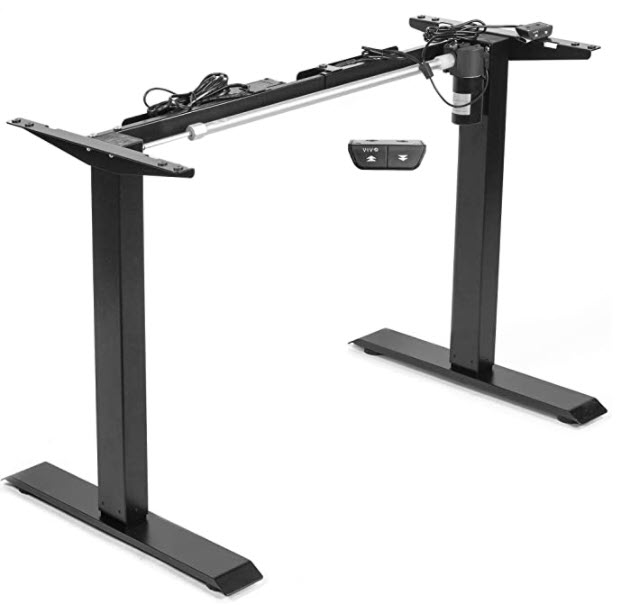
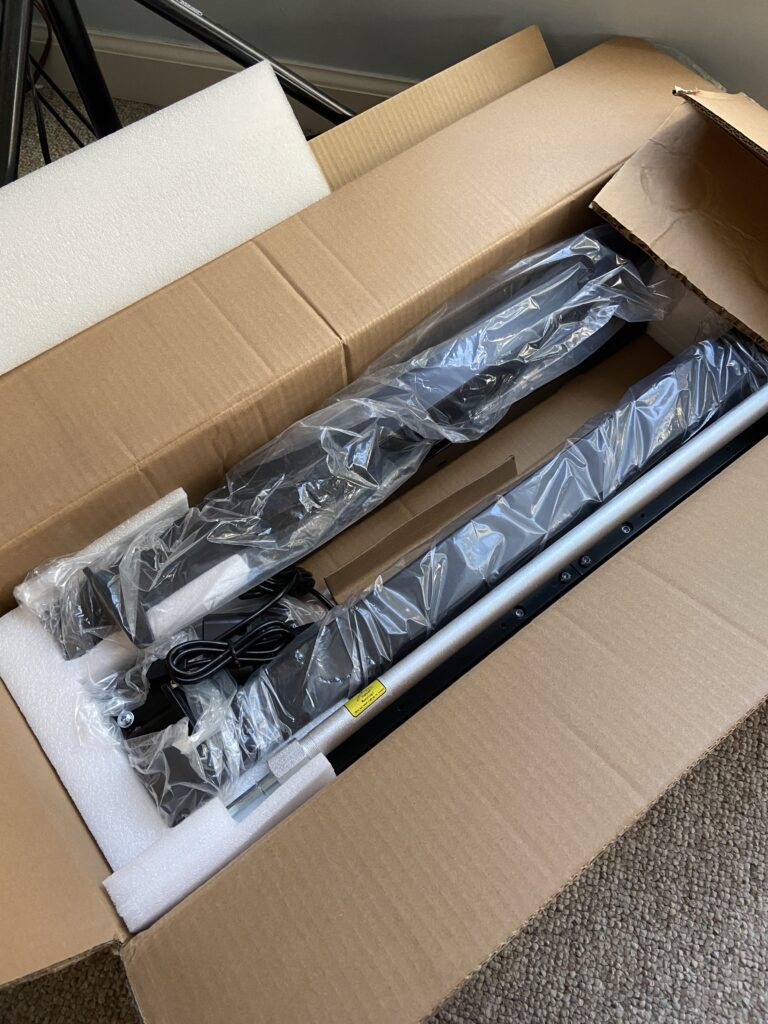
When we got moved to being fully online which meant much more sitting at the computer, I realized that was going to be a problem due to a disk issue in my lower back. Years in the Marines and life in general has me dealing with sciatica. I began to look at desktops that can raise and lower. There are many to choose from but I decided to buy a base that raised and lowered via an electric motor. For this I chose the VIVO brand. I then attached the desktop from my Jamesdar Carnegie desk. I LOVE THIS SETUP!
VIVO Black Electric Stand Up Desk Frame Workstation, Single Motor Ergonomic Standing Height Adjustable Base with Simple Controller. One thing did I say l already… I LOVE IT.
I have been using computers and building electronics since I was 10 years old. I know what I like to have around me but teaching online introduced new items. Please note, there are variations of all these and I would be happy to answer any questions you have.
Computer - Dell XPS 15 7590
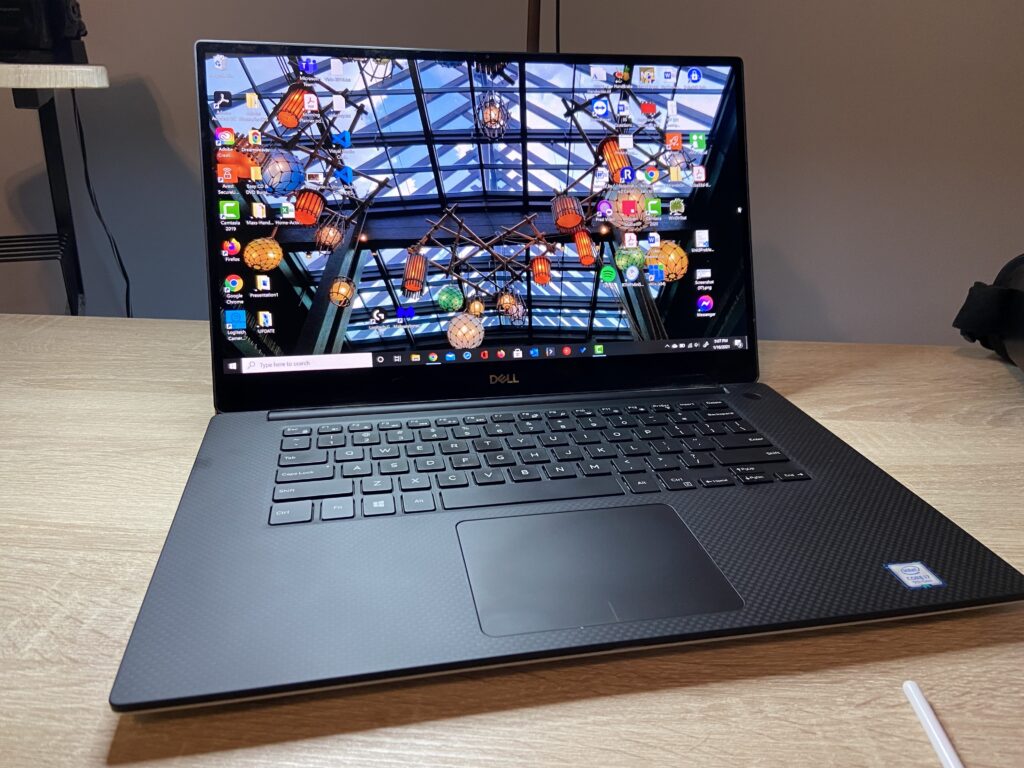
This can and may be a completely separate GetMeCoding blog post. If you intend on doing video work, be sure to get a microprocessor, RAM, and SSD drive that are more current. Video work requires a great deal of resources. You do not need a system that is ‘bleeding edge’ but you may also want to consider upgrading a system that you have had for several years.
I selected a Dell XPS 15 Notebook. The notebook vs. desktop pc debate raged in my head. I think looking back, I should have selected a desktop or tower for one reason, expand-ability. However, I needed portability and power. The Dell XPS is a beautiful machine and with it I have a docking station. Here are my specs:
- Microprocessor: 9th Generation Intel i7, 2.60 GHz, 6 cores
- RAM: 64 GB
- Graphics Card: NVIDIA GeForce GTX 1650
- Storage: 500GB SSD (I also have an older computer with additional storage)
- Operating System: Windows (latest version)
Display Monitors - Dell and Vivo
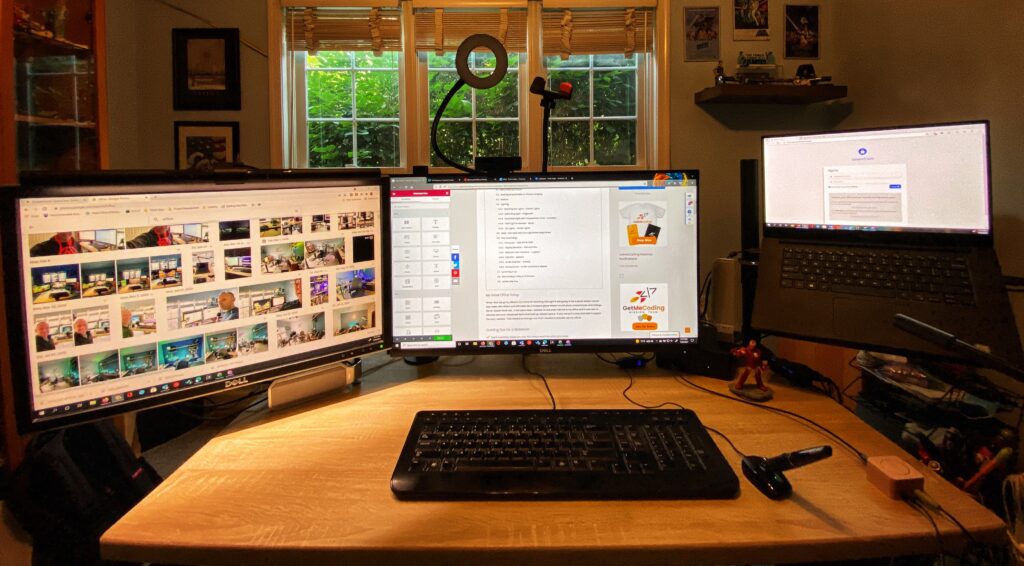
I currently have five monitors. I make use of monitors I have had for a number of years but also made a recent purchase as I wanted a brighter more vivid picture. I noticed my eyes straining due to one monitor becoming slightly dimmer.
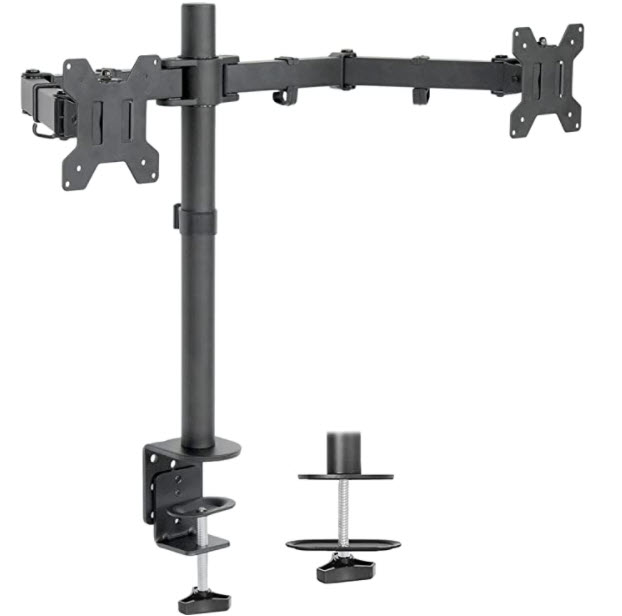
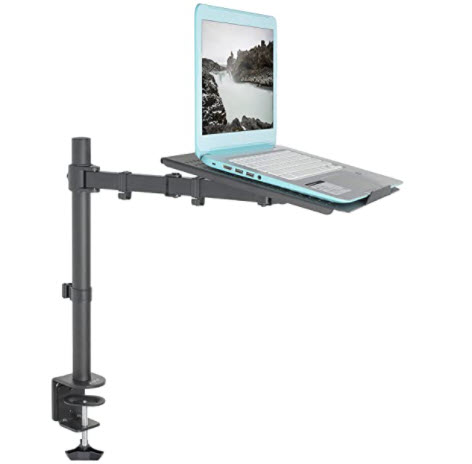
My Dell XPS 15 Notebook, a 27’’, 22’’, two 17″, and a 15’’ The two main monitors are held up with a VIVO Dual LCD LED 13 to 27 inch Monitor Desk Mount Stand. The smaller monitor sits on the desk behind where I sit. The notebook rests on a VIVO Single Mount Notebook Stand. Originally, I had it resting on one of the desk stands that came with it but needed to place it better and the stand provided it.
The VIVO stands are quality products. They are solid builds and are very strong and highly adjustable.
Webcam and Cameras - Logitech
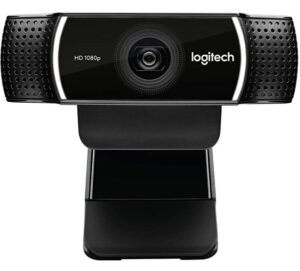
My main camera is a Logitech 1080p Pro Stream and it works great.
I also made use of an old Android phone where I installed NDI (Network Device Interface) software to connect it to my pc via wireless. I used a free offering from NewTek. I use this as my overhead camera when tinkering with devices. Initially I used an old webcam but it was a lower resolution at 720p and I noted the image was simply not as clear and when comparing it to other videos on line it produced a less than average quality.
I would like to say, I am frugal. So I did my best to use every type of camera I owned to include my Sony Handycam with an HDMI mini output. It is ok and I use it in the event I really decide to go for a true multi camera experience using a switcher of some sort.
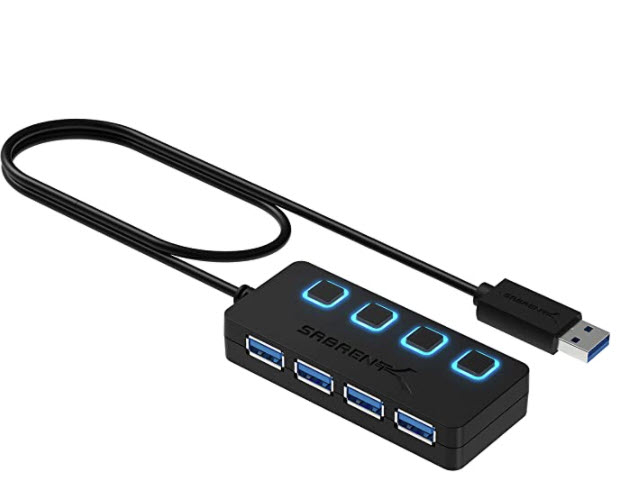
You can never have too many USB ports. My notebook and docking station were limited so I utilizing my USB 3.0 port on my docking station and expanded with a Sabrent 4-Port USB 3.0 Hub with Individual LED Power Switches.
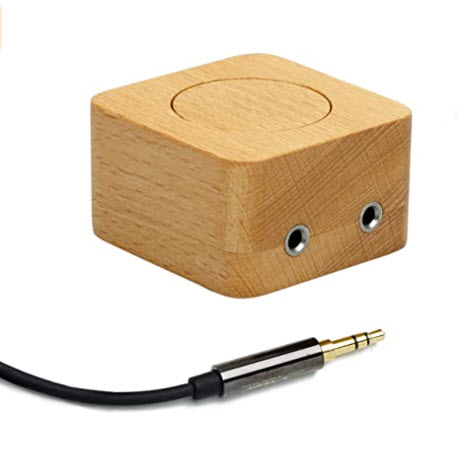
Since I have a docking station, I wanted an easy button for audio to switch between my headphones which remain plugged in and my speakers. For that I used the 3.5 mm Audio Switch Box by 4minds | 2 Ports Stereo Manual Splitter Box AUX Audio selector | Computer Speakers Headphones Jack
It is also a cool looking wooden box!
I will admit I am not an audiophile. However, having a good external microphone is important. The sound quality is noticeably better whether jumping on a Zoom call or recording a video tutorial.
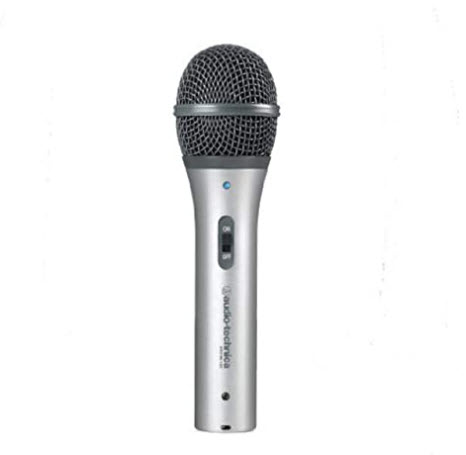
I love my Audio-Technica ATR2100x-USB Cardioid Dynamic Microphone (ATR Series) The one modificationis that I don’t have it sitting on my desk. I visited a local music store and found an inexpensive microphone stand that I can raise and lower as my desk goes up and down or swing out of the way when not recording.
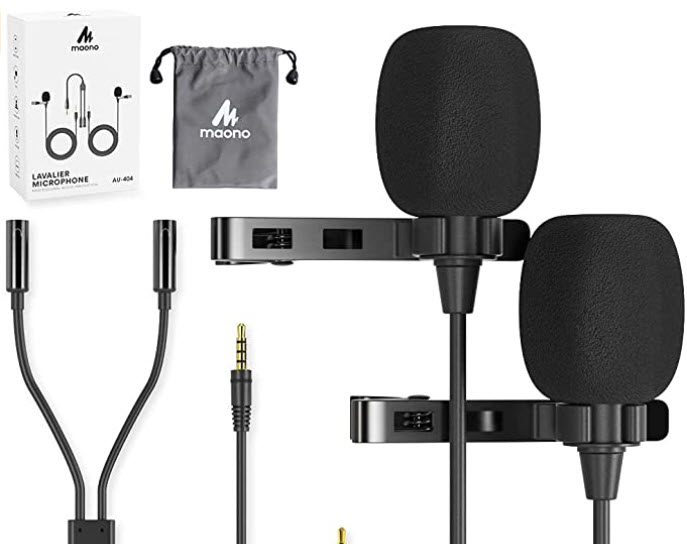
The last item is one that has given me issues. I purchased Lavalier Microphone 2 Pack MAONO Omnidirectional Dual Lapel Clip-on Mics. I purchased them for when I was recording on my smartphone camera. When I had my Android phone, the jack plugged right into the phone and it sounded good. I then moved over to an iPhone but had to buy a lightning jack adapter. Something has changed in the quality so I am not looking for a replacement. Point being, avoid adapters whenever you can. True, most work fine in various situations. However, it can also be a point of failure or quality loss.
That is it.
My studio has been evolving and continues to evolve as your will too. Don’t be afraid to try out new things, new setups, and new approaches. Avoid getting committed early on so you can pivot quickly and not lose time focusing on the important stuff like creating materials for your students or content if you are a creator.
Let me know if you have any questions or comments.
Happy building!!!

Let Me Help You

If you are a teacher or someone looking to help others learn to code, let me help you.

